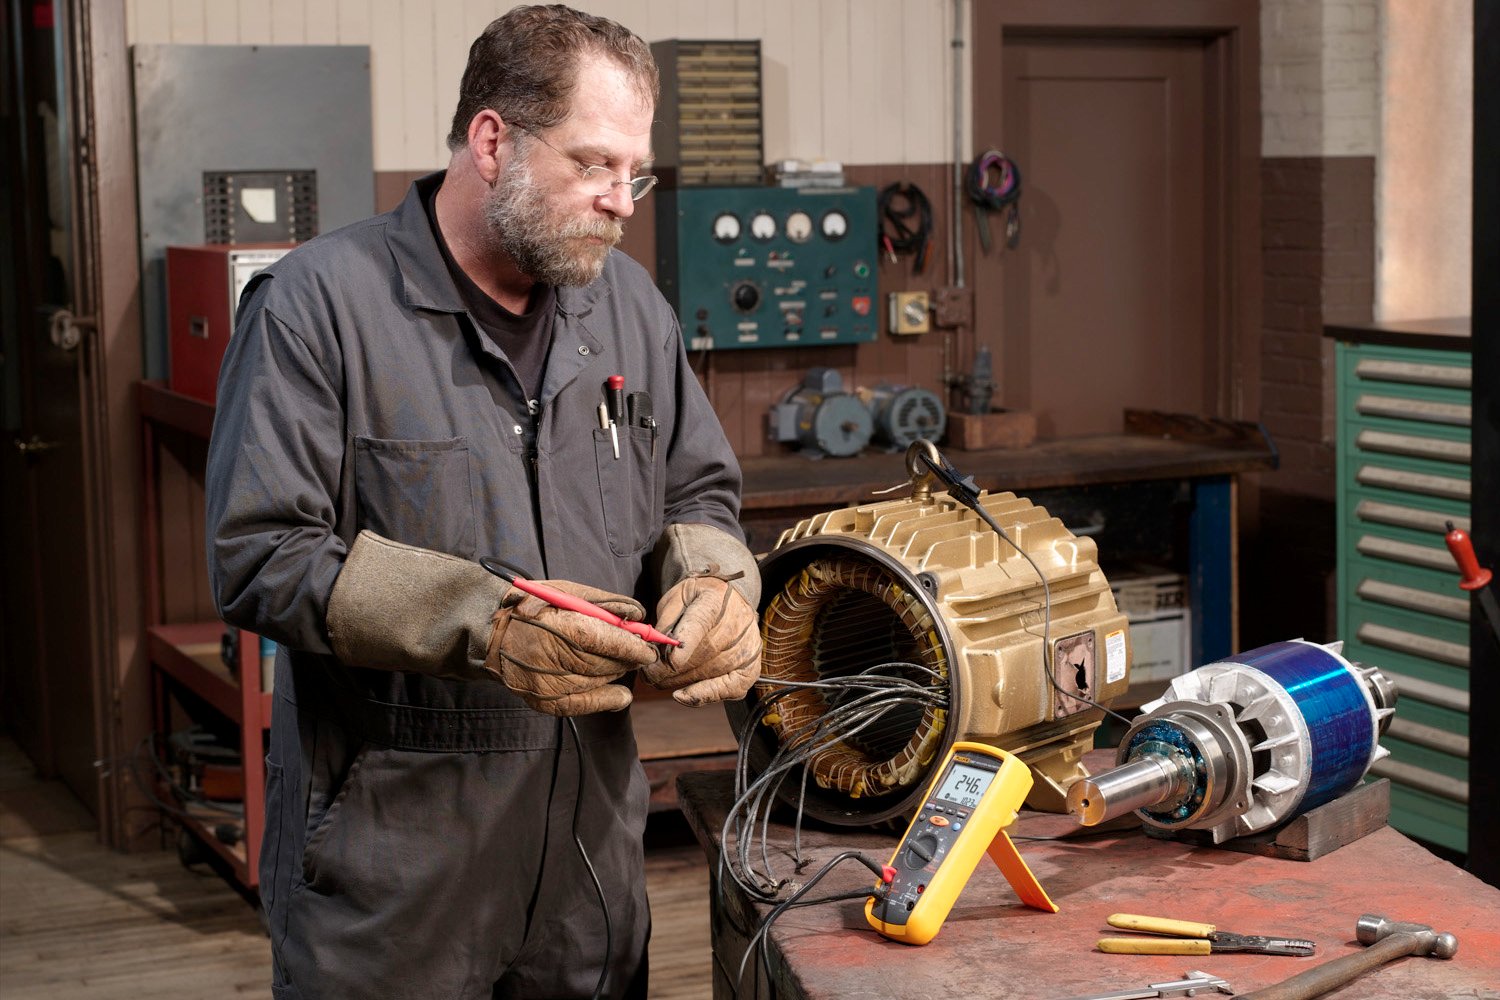
Facilities that use a run-to-fail maintenance approach have added pressure to bring motors and other systems back up and running as quickly as possible. Every minute a motor is down has a costly effect on the company. Suddenly, troubleshooting a failed motor becomes an emergency.
Not all facilities have on-staff resources to perform preventive maintenance on their motors. Many rely on outside experts to rescue them when motors fail. And while preventive and predictive maintenance are the preferred approaches as they yield the least amount of motor downtime, the run-to-fail method is still prevalent today.

Plants often turn to outside service companies to repair failed motors in printing presses, fire pumps, chillers, elevators, ventilation blowers, and other applications. Insulation resistance testing of failed motors, along with a short list of other simple tests, will help a service technician determine a go/no go status for the motor. The big question—is it safe to restart this motor?
SAFETY NOTE: Fluke insulation testers will alert you if you are connected to a live circuit. If a live circuit is detected, the tester will not apply power to it. Fluke insulation testers also provide a safe discharge function after the test is complete.
Here’s a typical to-do list for a service technician troubleshooting a failed motor:
- Don’t try to restart the motor. On first inspection it may look like nothing is wrong but trying to restart the motor without troubleshooting the problem first can cause serious damage.
- Perform a basic examination of the motor Look for smoke. Smell for strange odors.
- Gather basic information about the motor. Collect nameplate data. Take digital multimeter measurements—voltage, fuse checking, and ground connections.
- Perform an insulation resistance test of the line and load circuits to ground. Before doing ANY insulation resistance testing it is CRITICAL to isolate any electronic controls and other devices from the circuit under test. Insulation test voltages can cause serious damage to these controls.
- Lockout and tagout the disconnect to the starter.
- Set the tester to the appropriate test voltage.
- Identify the resistance between these points:
- Line side of starter to ground
- Load side of starter to ground
To pass these tests, the line and load circuits need to show high resistance. Generally, AC devices need a minimum of 2 meg-ohms to ground and DC devices need 1 meg-ohm to ground to ensure safe operation.

This example shows a test result for a pump drive that has failed. The load-to-ground resistance is greater than 2 billion ohms and less than 1 nA of current indicating the problem lies elsewhere. The results are displayed on a smartphone using Fluke Connect® software. If the load side resistance values are acceptable, then proceed to the next test. If they aren’t, then start tracing the problem: is the insulation breakdown in the load side of the starter, the cables, or the motor?
Perform an insulation test of winding resistance to phase and phase to ground. Rather than storing and trending measurement data, this test strictly provides a point-in-time measurement.
Good results:
- Balanced comparative resistance values on all three stator phases
- High resistance values on the phase to ground insulation test
Problems:
- Gross resistance deficiencies, such as a phase on phase short
- Any winding to winding resistance imbalance. If the readings differ by more than a few percent, the motor is probably unsafe to energize.
Troubleshooting failed motors requires careful, step-by-step evaluation of a lot of different motor elements. Insulation resistance testing provides useful information and data that can be used to determine the health of the motor. Ultimately, every test is inconclusive until all are completed—one good reading doesn’t mean something isn’t wrong. However, one bad reading guarantees something is wrong.
Once a service technician has completed testing of the failed motor and determined a go/no go status, they can provide recommendations for next steps to get the system back up and running. Without these critical tests, the question will linger: is it safe to restart this motor? That is one question no facility manager wants to answer wrong.
