Manufacturing processes require hundreds of incredibly precise devices to keep operations running smoothly, and reliably. To keep these devices running ceaselessly and to specifications, they must be regularly inspected, repaired, and calibrated. Whether the timing, flow, temperature, or pressure requires calibration, these instruments are usually sent out to a calibration lab, or a calibration engineer is brought into the plant.
To keep your plant up and running as much as possible, here are six ways automation and control engineers can help ensure successful instrument calibration.

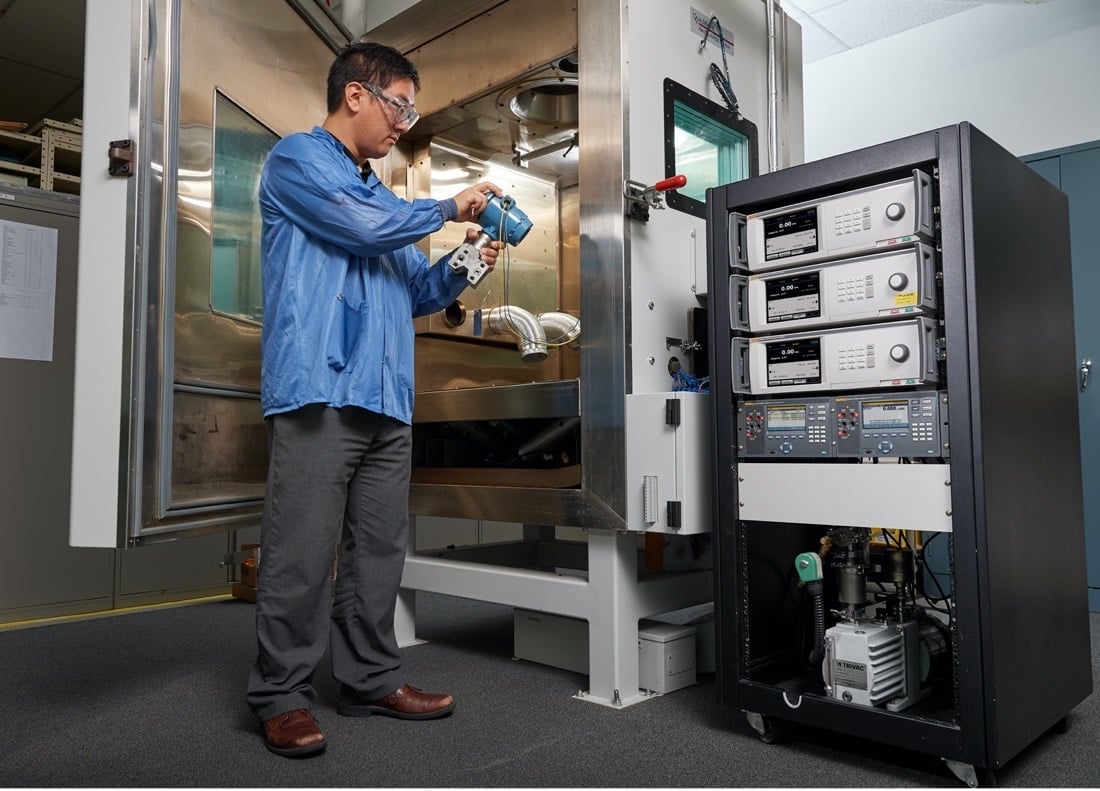
A Fluke Calibration 8370A Modular High-Pressure Calibrators calibrate a wide workload of pressure sensors.
1. Check the basics
In the same way that you would check electrical assets during a preventive maintenance route, you need to check a few areas of your mechanical assets because they can produce results that make the component seem uncalibrated. Sometimes when a component is running a bit off, it’s because it needs to be cleaned or maintained. Check the fans and filters. They need to be cleaned monthly or quarterly, depending on the machine.
Allowing these parts to collect dirt and dust can stop an asset from performing within its designated specifications. So, for example, a part may be calibrated perfectly, but the fan isn’t cooling it enough to run at peak performance.
2. Stick to the calibration schedule
Calibrations are usually certified for a certain amount of time, and the accuracy of your product can begin to decline after that date. It’s important to follow the schedule the calibration lab sets up for each product.
If you’re sending equipment to a calibration lab, send it early whenever possible. Calibration labs get busy. Things can get backed up. Shipping times can be unpredictable. So, the best way to ensure your product is calibrated and back online in time to stop plant delays is to send it early.
The calibration schedule is usually based on:
- Type of instrument
- How the instrument is used and how often
- The environment it’s used in
- Level of accuracy needed
 The Fluke 8558A 8.5 Digit Multimeter offers 5 mega-samples-per-second high resolution digitizing for system automation in labs and manufacturing test environments.
3. Provide the details
When you send out your asset for calibration or bring a calibration engineer into your plant, be sure to provide specific information about the asset. If it’s being calibrated because you’ve seen a decline in accuracy or something isn’t working correctly, let the lab know what the issues are. Describe where you’ve seen the decline and how long the issue has been present. Context, in addition to how you use the product, can help inform what tests are done to ensure the product’s accuracy.
It can also be helpful to inform the lab of how the test engineers use the equipment. Not every application is used as expected and sharing pertinent information with the calibration lab will ensure better service and optimal performance of your test hardware.
4. Know the product measurement uncertainties
Calibration doesn’t guarantee that everything is perfect. A calibration lab follows specifications on what to test on each product to calibrate it. That means the asset is tested per the manufacturer’s specifications and not at every single test point possible.
If you use a product to the extreme of its measurement uncertainty, the basic manufacturer suggested calibration may not be enough. You can ask for specific additional calibration points based on how you use the product. That will give you high confidence that the calibration is accurate for your needs.
In addition to the information mentioned above, giving the calibration engineer details and a starting point for their test, will help mitigate the measurement uncertainties related to the tests your plant is using a product for.
5. Check for damage during shipping
If you shipped your product out for calibration, run a few sanity checks when you get it back to make sure it wasn’t damaged in transit from the calibration lab back to you. Packages get dropped or treated roughly sometimes, which can undo the calibration that was just done. It’s important to make sure everything is working accurately before you begin using it in your production line again.
If you do notice an issue or the device doesn’t seem to be properly calibrated, speak with the lab to avoid any further problems.
6. Perform MSA before and after calibration
Measurement system analysis (MSA) is a great way to figure out if there is an issue that requires calibration or to make sure your device is properly calibrated when you get it back from the cal lab. MSA is a mathematical method of determining the variation within a measurement process. It is used to certify the measurements and controls being used by evaluating accuracy, precision, and stability. If an emergency happens, test engineers can use MSA to understand what’s going on before sending a device out to a calibration lab.
Understanding and knowing how to perform MSA gives engineers better control of assets, and leads to better results down the line.