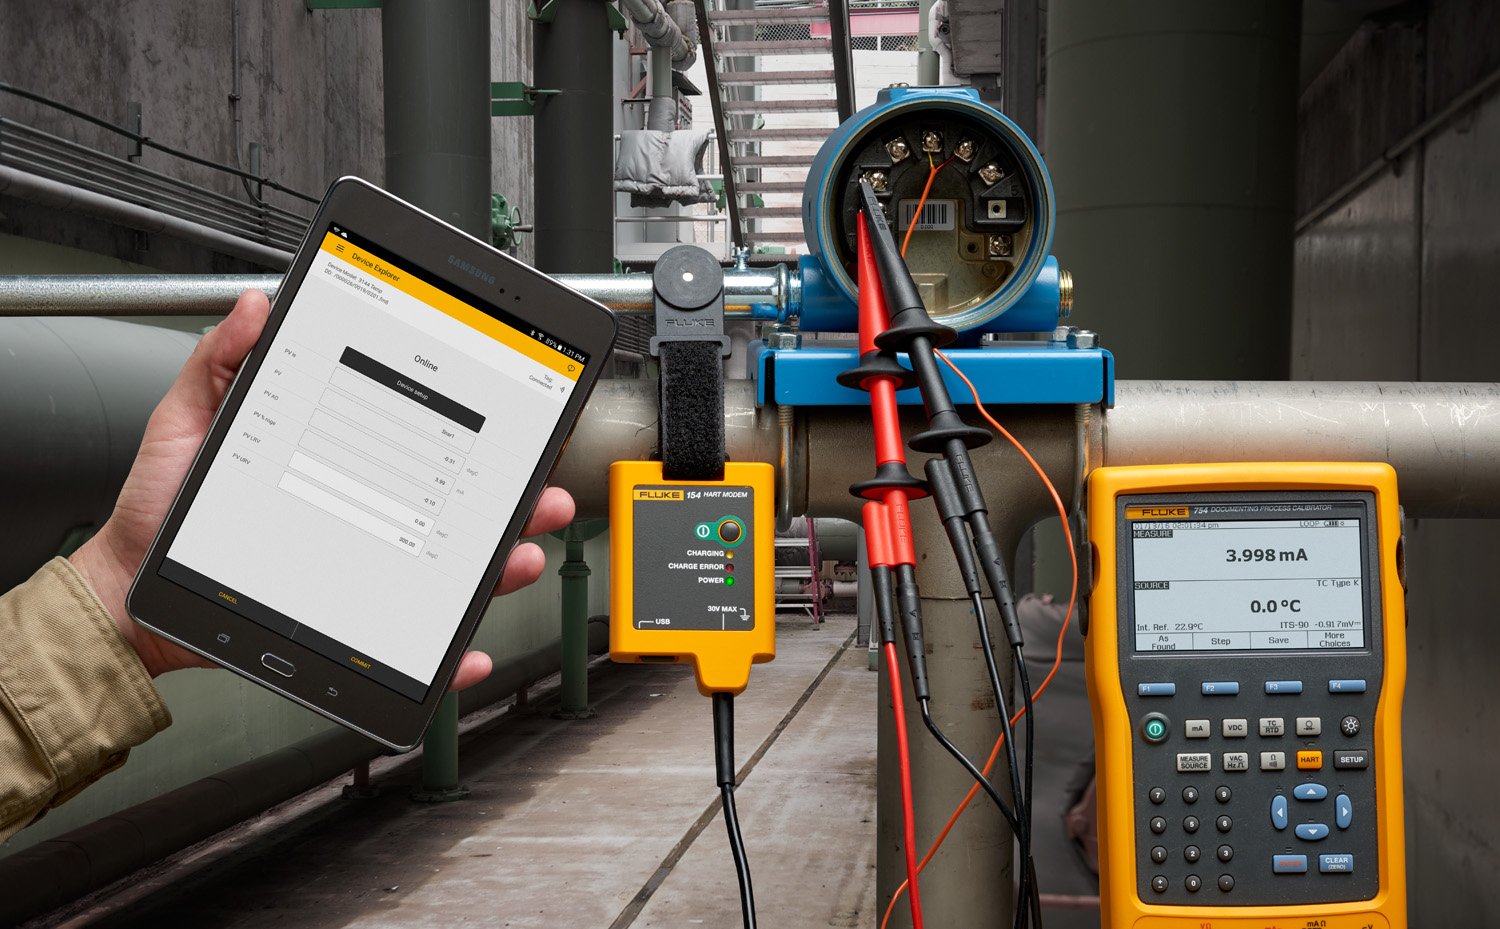
Calibrating a HART temperature transmitter requires an accurate temperature simulator or temperature source, mA measurement, and a HART communication tool for calibration. You can use separate tools or a calibrator that integrates all three to perform this task. HART is an industry standard defining the communications protocol between smart field devices and a control system that uses 4-20 mA wiring.

Before going to the field, gather the needed calibration and communication test tools. If testing an RTD transmitter, be sure to bring extra test leads for connections. Testing a 3-wire RTD requires five test leads—three for simulating the RTD sensor and two for measuring the mA signal. If using a separate communicator, you will need its test lead set as well. For thermocouple (TC) calibrations, be sure to have the correct TC test wire type with a mini-connector terminated with the correct TC connector type (i.e. Type K wires and connector to simulate a Type K thermocouple).
Ensuring accuracy
Your mA measurement tool and temperature source calibrator should be at least four times more accurate than the device being tested. To make that determination, refer to the data sheets of both the transmitter and the calibrator being tested, and account for temperature and stability (time). The Fluke 754 Documenting Process Calibrator has the HART functionality built in to enable smart trims on transmitters. It can also document transmitter performance before and after adjustment and calculate pass/fail errors.
The Fluke 154 HART Communicator is a tablet-based HART communication tool that pairs with a documenting process calibrator or a multifunction process calibrator to give you a complete HART calibration and configuration solution.
How to perform the test
This example assumes that the transmitter is isolated from the process and is not electrically connected to a loop power supply. A separate 250-ohm resistor is not necessary because the Fluke 754 incorporates a resistor in series with the loop supply through its mA jacks. The 3144 in this example is configured for a type K thermocouple sensor with a span of 0 °C to 300 °C.
- Select MEAS mA, SOURCE T/C type K to configure the calibrator to measure the analog mA output of the transmitter and source the correct temperature stimulus at the 3144 input. Press ENTER to select.
- Press the As Found softkey, then press ENTER to select Instrument for a linear transmitter calibration. Fill in the appropriate test tolerance and press the Done softkey.
- Press the Auto Test softkey to begin calibration. Once the test is complete, an error summary table is displayed. When done viewing the table, press the Done softkey. Press Done again to accept, or ENTER to change the tag, serial number or ID fields.
- If the As Found test failed, then adjustment is necessary. Press the Adjust softkey. Select Sensor Trim and press ENTER. Select Perform user trim – both and press ENTER.
- For best results, press LRV to apply the LRV for the Lower Trim value. Press Trim and then Continue to move to the Upper Trim. Press URV, then Trim, then Done. If the 3144 is used with the digital PV output, skip to step 7 and perform the As Left test. If the analog 4-20 mA output is used in the process, continue to step 6.
- Select Output Trim and press ENTER. The value of the primary variable (PVAO) is in the upper right corner of the display. This is normally a 4-mA signal. The mA value is in the center of the display. Press Fetch to load the measured mA value. Press Send to send the value to the 3144 to trim the output section for the 4-mA value. Press Continue for the 20-mA trim and repeat this step.
- After completing Output Trim, press Done and proceed with the As Left verification test. Press As Left. Press Done and then press Auto Test. On completion, an error summary table is displayed. If errors are highlighted, the test has failed, and further adjustment is required. Return to step 5 for adjustment of the 3144.