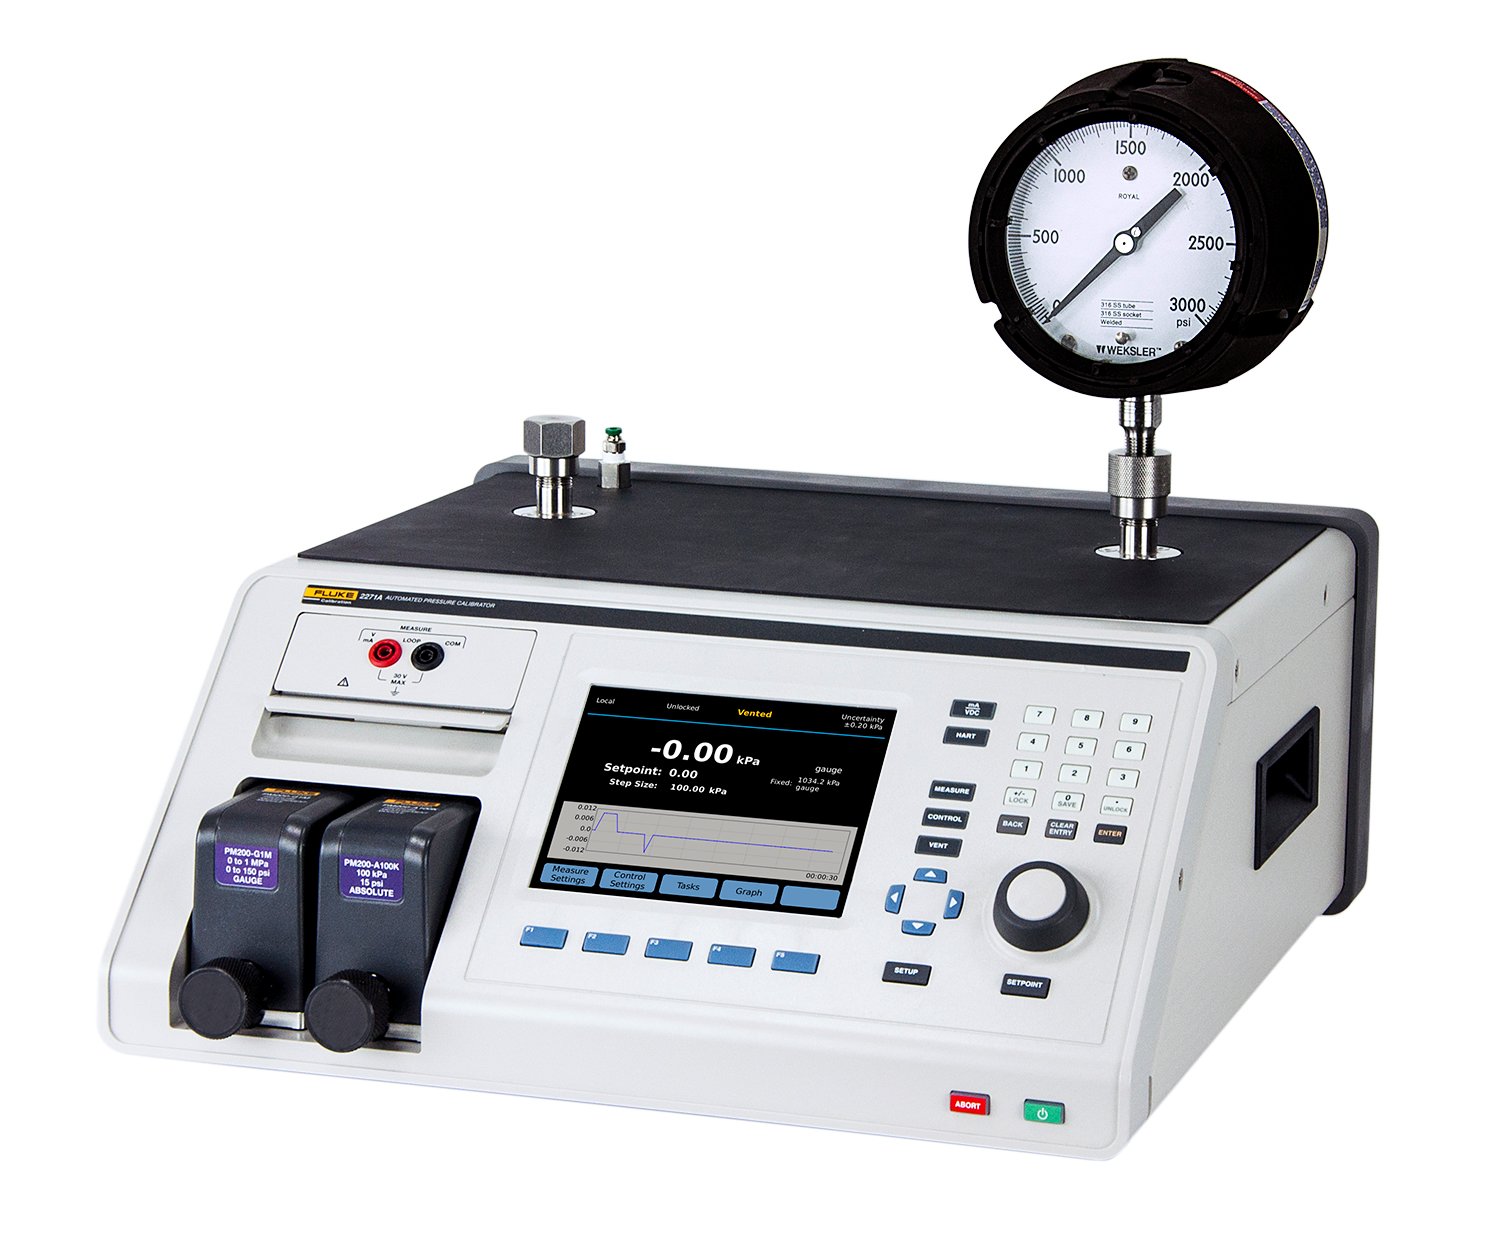
If you calibrate dial gauges, you know it can be challenging to interpret readings on the gauge's display when the pointer is between marks on the gauge face. You can diminish this error source by performing a cardinal point calibration, adjusting the pressure so that the dial gauge pointer is aligned with the cardinal point. The pressure standard now reads a value slightly different than the dial gauge, representing the error in the gauge.
In this example, we explain how to perform a cardinal point calibration with a Fluke Calibration 2271A Industrial Pressure Calibrator.
Set up the equipment
- Connect the gauge to the calibrator.
Test tip: Calibrate gauges in the same orientation as their normal usage.
Perform a quick test
Use the jog wheel and step functions to perform quick tests. Calibrating this way is quick and easy, but the calibrator does not collect and store test results. If you want to store data, set up the calibrator to use programmed tasks.
- Press F2 from the Main Menu. The Control Settings menu appears.
- Set the step size.
- Press the Setpoint button to step the pressure during control. Press F2 to step down or F3 to step up by the step size amount.
- Use the jog wheel to adjust the dial gauge pointer so it rests on the cardinal point. This also increases or decreases the pressure setpoint.
- To change the resolution on the front panel (and also the jog resolution), press F1 from the Main Menu. The Measure Settings screen appears, with a menu that lets you change the resolution.
- Use the jog wheel and step function to transition through each setpoint in the test while adjusting the pressure as needed at each setpoint.
Set up programmed tasks
- Press the F3 key to access the programmable tasks.
- Use the jog wheel or arrow keys to highlight Pressure Device and press Enter. The Pressure Device Task screen appears. This is where you can choose an existing program or create a new one.
- Use the jog wheel to select New, then press Enter. The Keyboard screen appears.
- Enter a name for the procedure and press F3 to save the name. A screen for entering pressure points appears.
- Enter the starting and ending procedure and the number of points in each direction. You can also specify a dwell time to set the amount of time after the controller is ready at a set point before it records the reading. You can also set the maximum time to get to a set point before the controller reports an error.
Set up the device under test
Configure the device under test (DUT) so that its output will be collected and analyzed automatically.
- Use the jog wheel to highlight DUT on the Pressure Device Task screen.
- Set the DUT Tolerance to Yes.
- Specify the specification for the device under test. If the DUT has a % full-scale specification, calculate the specification in engineering units and enter it as the threshold tolerance.
- Press F2 to go back to the Pressure Device Task screen.
Run the procedure
- From the Pressure Device Task screen, select the correct procedure from the list and press F4 to bring up the Keyboard screen.
- Enter the ID for the DUT and press F3 to start the calibration process. At each pressure point, you have the option to use the jog wheel to jog the applied pressure.
- A summary screen appears once the test is completed.
View the results
- Connect the calibrator to a computer using a USB-A-to-USB-B cable.
- Toggle RS-232 mode off in the SETUP|Instrument Setup|Remote Port|USB setup menu. The 2271A appears as a drive on the computer
- Copy the results file from the calibrator onto the computer.
Get help